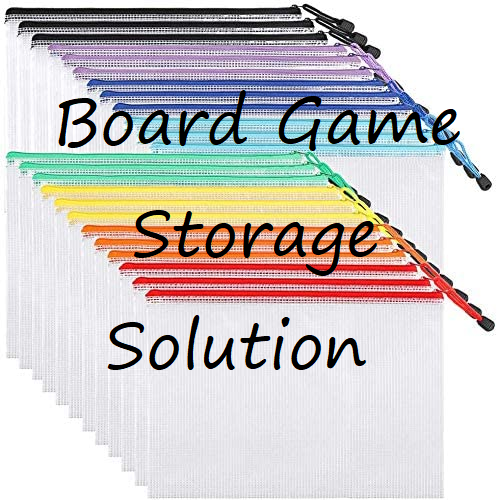
I’ve seen this trick on lots of different organizational blogs and while I was skeptical at first I’m now in love with it! Board games can take up so much room and if you’re like us, you might have gotten more for Christmas. We play board and card games often as a family which means they’re getting pulled out but not usually put back the same way (I get it, it’s like playing Tetris with the games!). So I finally decided it was time to switch all our board games over to bags!
At first I was overwhelmed. How many bags do I buy? What sizes do I need? Do I really want to throw all those boxes away? What do I do with the games when we’re ready to get rid of them? But let me ease your mind if it’s anything like mine – IT WILL ALL BE OK! If you happen to purchase to many bags, Amazon has made it easy to return items. Throwing away the boxes was actually therapeutic and don’t worry, they make disposable zip lock bags so when the time comes to weed out the games we longer play with, I’ll transfer them to disposable bags, label it and hand it down to someone who can love it the same way we did. And heck, they might appreciate all the space I’m saving them.
So have I convinced you to switch your games over to bags yet? I promise, it’s easier than you might think and while it will get messier before it gets better, it’s worth it! Start by pulling all your games out into a big open area (I used our living room floor but the dining table works too.) Then set aside all the games you no longer play with. If you haven’t played it in the last 2 years I’d say now is a good time to pass it on to someone else. This is also a good time to gather all your supplies. You’ll want your zipper bags, a label maker (if you don’t have one you can also tape the name of the game onto your bag after you’ve cut it off the box) scissors and your baskets (if you plan to store them in baskets which I highly recommend).
Once you’ve gathered all your supplies it’s time to start transferring your board games over. Remove all the game pieces from the box and decided which bag is going to work the best for that game. Here’s where I’m glad I bought the variety pack. Surprisingly, most of the games fit inside the sizes that came in this pack (I ended up needing to purchase 2 set because we have so many games). We used the smaller bags to keep the small game pieces together (or cards if the game had any). Then we put the board game and the smaller zipper bag inside the corresponding bag. One tip we learning is don’t try to “squeeze” your game into the bags. The kids are going to be in and out of these bags and they need it to zip up easily so don’t be afraid to go slightly bigger in size.
Then you’ll want to label your pouch. We used chalkboard tape, cut it down to size and wrote the name on the outside but you could also cut the game name off the box (remember you’ll just be throwing the boxes away anyways) and tape it to the top of your bag. Either way is going to work great but if you have smaller children that can’t read yet, I recommend cutting the name off the box, that way they can identify the game easier.
You’ve now completed the hardest task and can start organizing them into your bins. We bought these fabric bins to store on the shelves we had for all our games. The kids can easily see into them and pull out the game they’re looking for.

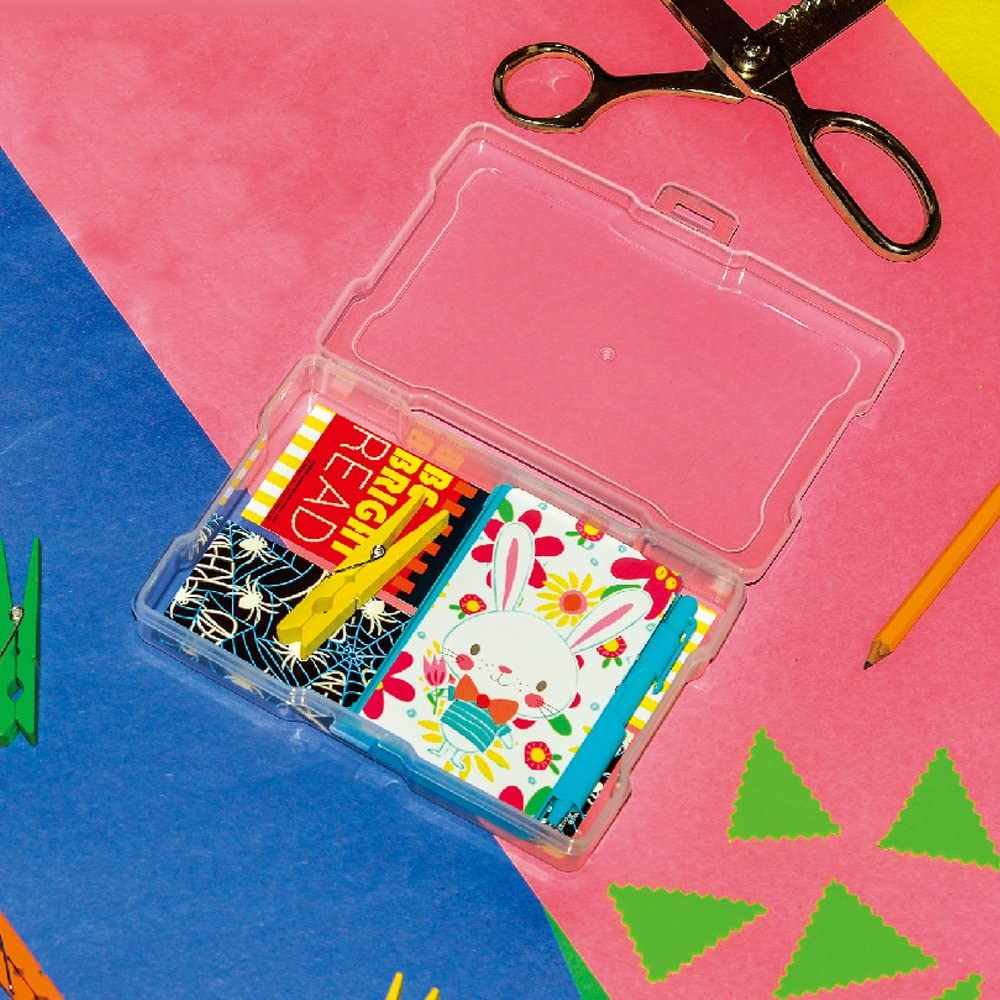
Card games? Are you wondering what we did with our card games? Well, this was my favorite part! I bought the photo storage cases and put each card game inside one. Then we labeled the top of the container and slipped them into a clear container to keep them all organized. This not only looks pretty but it’s so easy to see exactly which card games we have. Plus they’re easier for the kids to get them out to play with (often times they’d end of ripping the box because the tabs aren’t that easy to open).
I have loved having our games all organized in these storage bags and cases! I promise, you’ll be surprised at how much more room you gain when you switch your board games and card games over!
